A PORTABLE WWII ERA “MORALE RADIO”
A PORTABLE WWII ERA “MORALE RADIO”
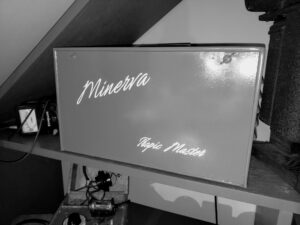
The Tropic Master is a portable eight-tube receiver that covers both the AM broadcast band and shortwave bands from 5.5-18 MHz. It can be powered by AC or DC. It was built to be tough and to be able to withstand extreme heat and humidity. The internal speaker produces mellow, full-fidelity audio and the volume can be increased to a high level of audio. This historic radio was produced for the U.S. Army and Navy as a “Morale Booster” during World War II. These radios provided music and news to the US troops.
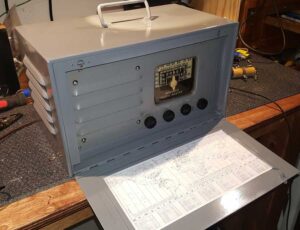
There were basically two versions of the Minerva Tropic Master, an early and late version, both Model W117. I have the early version, with a manufacturing date of 1944. Mine can be recognized as early by the louvered front grille over the speaker. Later versions had the Minerva “M” stamped as part of the grille and face-plate.
The cabinet measures 8 inches high, 14 inches wide and 8.5 inches deep. The weight is 20 pounds. The date on the Rola 6M23 speaker in my set is September 1944. This AC-DC radio for troops overseas was that power was less of a problem. Either AC or DC could be used. This set will work on as little as 90 volts. Troops could hook light bulbs in series in an area where line voltage was too high, or spring up some batteries to get 90 volts.
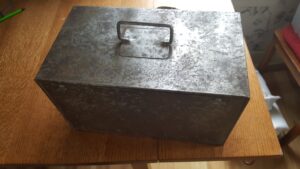
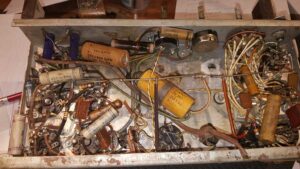
I picked my Minerva up at an auction, where it sat in pieces in a box. (I missed out on a real nice R100/UR Morale Radio, still on my wishlist) The case was exposed bare metal, and the chassis and internals were covered in dirt and dust. The good news was that the cord was totally cracked and had lots of exposed wire. Why do I say that’s good? Because it means no one has plugged it in in quite a while, so most likely it’s just been sitting around waiting patiently to be brought back to life.
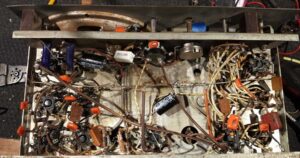
First steps were cleaning the radio. Since this one was so dirty, I decided it needed a shower and rinse. I sprayed the chassis with simple green (not the speaker, of course, I had wrapped that in plastic wrap. I let it sit for awhile, then with the tap water as hot as I could get it, I held it under the sink and sprayed off decades of dirt and grime. I usually use a soft brush and a small toothbrush to get all the stubborn dirt off. Note: Don’t do this if you do not intend to replace capacitors, resistors, etc.
After a good scrubbing I blew it ‘dry’ with compressed air, then I let it sit in a sunny window for about a week, to dry everything out.
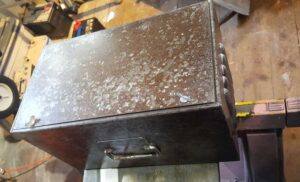
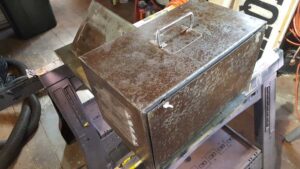
While replacement parts were ordered and the radio chassis was drying, I tackled the cabinet. Since It was bare metal already, it sanded it down with 220 grit, and then finished it up with a scotchbrite pad. There were several small dents in the case, and I gently hammered them out with a hammer and block of wood.
Recapping the radio
My radio had at one time been converted to run off of 220 volts, or 120 volts. Via a switch mounted in a drilled hole in the back. The modification was gone when I got. Also, there were 3 20uF electrolytic capacitors installed, but the schematic only called for 2 40uF E Caps. I swapped out all the caps and electrolytics, and one 25ohm5-wattt resistor. I tested the set with an external antenna hooked up (there is no internal antenna) and was really surprised at the good sound it makes.
Cabinet before Painting
Finished Radio
Sounds Nice!
Note: The Radio Station Shortwave Map is not original to the radio.

